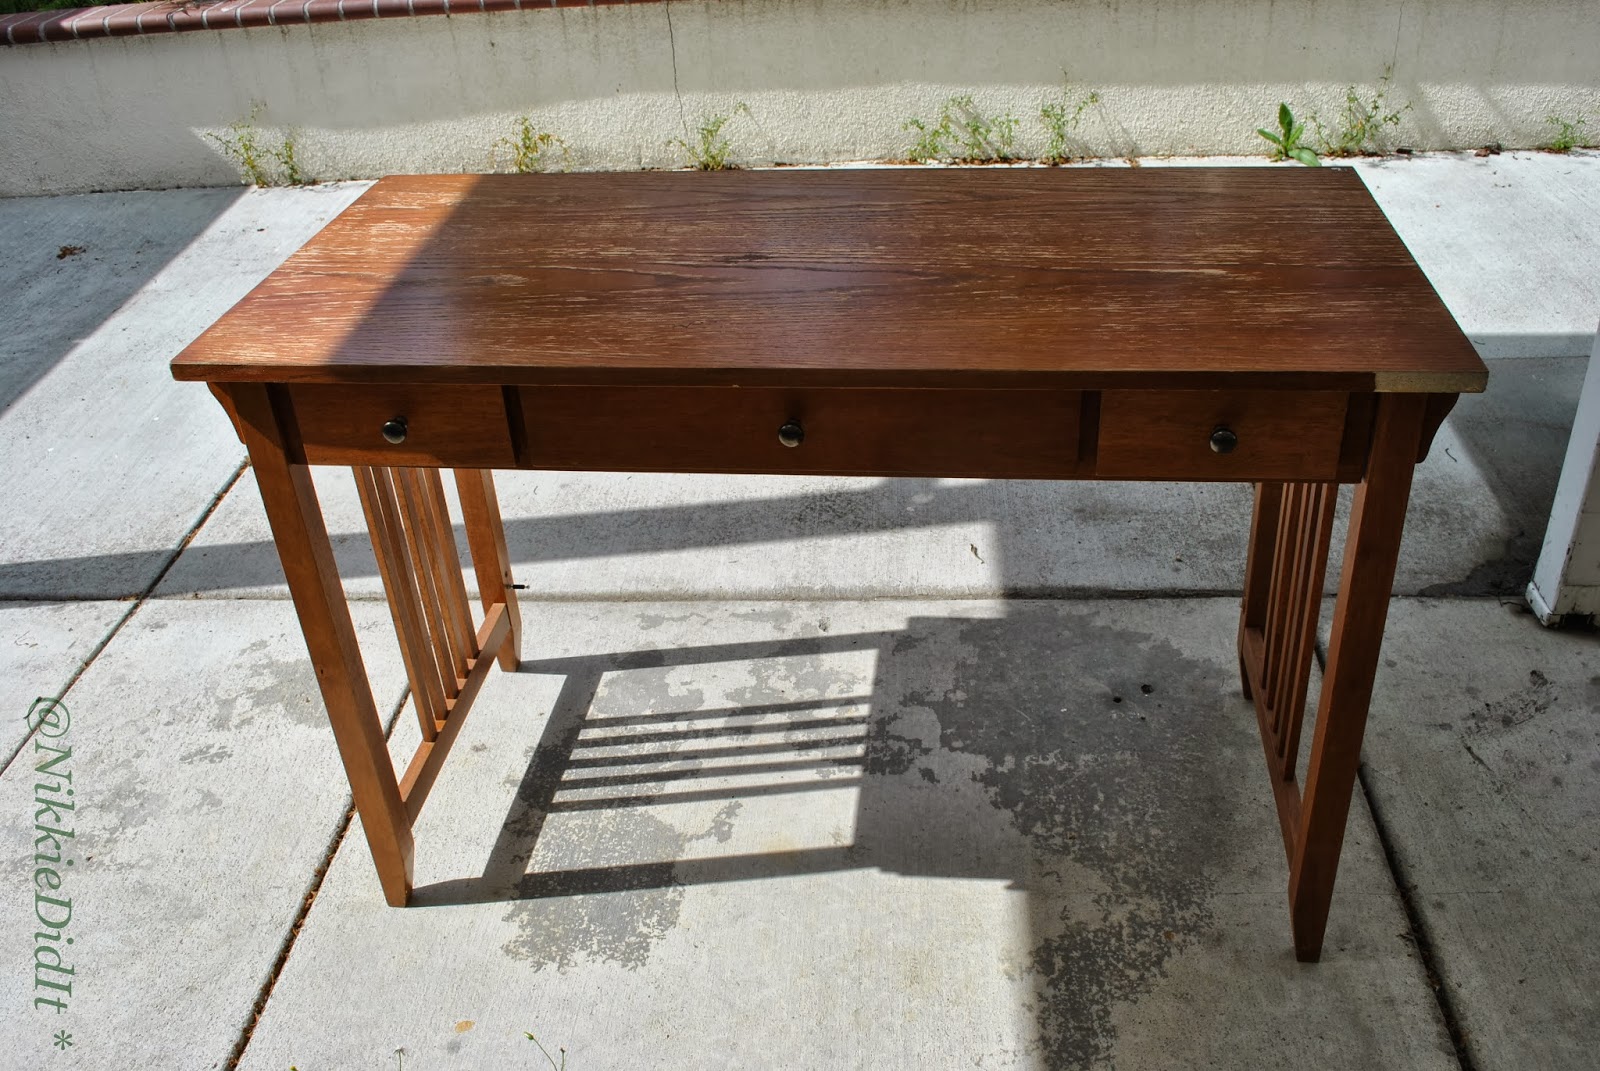
Well this was made awhile ago, but thought it would make a great first blog. When I first got my sewing machine in February, It had nothing to sit on, so it literally got used on the box for two months I finally got fed up and decide to roam the thrift store for a deal. I finally came across a great size table. It was $24/ but because I had bought something a week before, i got 50% off so $12 bucks. I know i was excited. Now after asking my hubby for all kinds of info and looking on internet, this is what i needed to refurbish this great table. It took me a weekend.


 |
DIY Sewing Table |
Supplies Need
*Mouse sander & 80-grit sandpaper

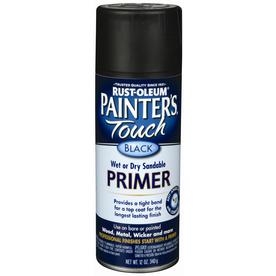
*Rust-Oleum Ultra cover Primer(there are others what every is the cheapest for me) White

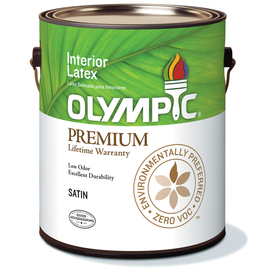
*Paint of your choice, I had Interior satin finish sitting in the garage

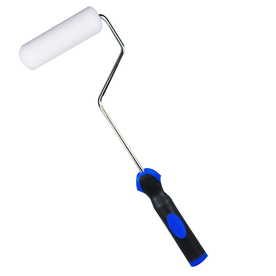
*Mini Foam Rollers, Cheap large paint brush


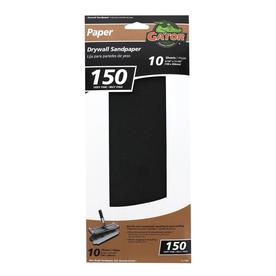
*I used 150grit sand paper(can use block as well, this is just what i had). 220 grit sandpaper

*Varathane Pulyurethane(water based, heavy use semi-gloss)

Instructions:
First take table apart, putting hardware aside. In my case I had to find a piece as well to stabilize table or it would wobble. Now use sander to remove just enough shine from table. My table had laminate top and real wood leg along with everything else. Over sanding laminate will mess it up. Once your done sanding, vacumm and wipe down to remove all the dust. I used clorox wipes.

Once clean and dry, prime time. I primed in the garage on flattened cardboard. I like spray primer because its easier in hard to reach spots. Shake can well, spray lightly between layers, letting dry in between coats. Primer acts as a binder for the paint. After you've primed lightly sand with 220 grit sandpaper if you have gritty spots or drips(I didn't).


Then paint two layers of paint color you chose(letting dry in between). As you can see I chose green. Its my favorite color.

If you want it to create a distressed look, this is when the sanding block/paper 150 grit is for. Use it on the edges and for details.


Now for the polyuerathane, I know most use wax, just thought poly was easier for me(according to hubby). The top is where most of the wear and tear will be. So I did 3 coats with foam roller. The rest of table 2 coats with foam roller & brush for hard to reach spots. Don't forget to let dry between coats. Put back together, and your done, a fantastic thrift store sewing table.


Post a Comment